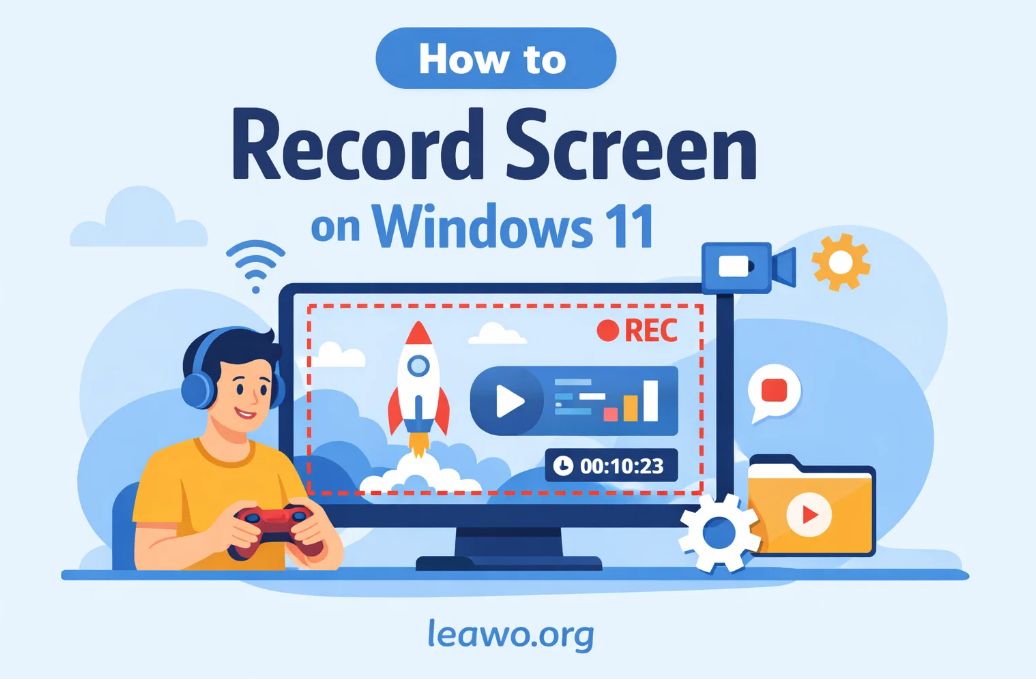
How to Record Screen on Windows 11
Screen recording is now essential for many users. You might need it for work presentations. You could use it for gaming content. Teachers use it for online lessons. Students need it for projects.
Windows 11 makes screen recording simple. You don’t always need extra software. The system has built-in tools. They work well for basic needs. But third-party options offer more features.
This guide covers everything you need. You’ll learn about free options. You’ll discover professional tools. We’ll explain each method step by step.
Can You Record Screen on Windows 11 Without Software?
Yes, you can record your screen without downloads. Windows 11 includes two built-in tools. These tools are free and ready to use.
The first option is Xbox Game Bar. It comes pre-installed on Windows 11. The second option is Snipping Tool. Microsoft updated it with recording features.
These built-in tools have some limits. They work great for quick recordings. But they may not suit advanced users. Professional content creators might need more options.
The good news is setup takes seconds. You don’t need technical knowledge. Anyone can start recording right away.
How to Record Screen on Windows 11 Using Xbox Game Bar
Xbox Game Bar is the easiest method. Follow these simple steps to start recording.
First, press Windows key + G together. The Game Bar overlay will appear. You’ll see several widgets on your screen.
Look for the Capture widget. It shows recording controls. Click the record button to start. It looks like a circle.
You can also use a keyboard shortcut. Press Windows key + Alt + R. This starts recording instantly. No menus needed.
The recording runs in the background. A small timer appears on screen. It shows how long you’ve been recording.
To stop recording, press the same keys again. Or click the stop button in the widget. Your video saves automatically.
Recording with Audio
Xbox Game Bar can capture audio too. Click the microphone icon before recording. This enables your microphone input.
The tool records system sounds by default. Game audio and music get captured. You can toggle these options on or off.
Find your recordings in the Videos folder. Look inside the Captures subfolder. All your recordings live there.
The files save as MP4 format. This format works everywhere. You can share it easily.
How to Record Screen on Windows 11 Using Snipping Tool
Microsoft updated Snipping Tool recently. It now includes screen recording features. This tool works differently than Game Bar.
Open Snipping Tool from the Start menu. Or press Windows key + Shift + S. The screen dims slightly.
Click the video camera icon. It’s at the top of the toolbar. Now you can select your recording area.
Draw a box around what you want to record. You can record the full screen. Or choose just one window.
Click the Start button to begin. A countdown gives you time to prepare. The recording starts after three seconds.
Click Stop when you’re finished. The video opens in Snipping Tool. You can trim it or save it directly.
This method works well for tutorials. It’s perfect for quick demos. The quality is good for most purposes.
Best Third-Party Screen Recorders for Windows 11
Built-in tools have limitations. Third-party software offers more power. Here are the best options available.
1. OBS Studio
OBS Studio is completely free. It’s open-source software. Professionals use it for streaming and recording.
The interface looks complex at first. But it’s very powerful once learned. You can customize every setting.
OBS records in high quality. It supports multiple sources. You can add webcam overlays. Text and images work too.
This tool is perfect for gamers. Streamers love its flexibility. Content creators rely on it daily.
2. CleverGet Recorder
CleverGet Recorder is simple yet powerful. It records everything on your screen. The interface is clean and easy.
This software captures high-quality video. Audio recording works perfectly. You can record streaming content easily.
CleverGet handles protected content well. It records videos from websites. The quality stays sharp and clear.
The tool includes editing features. You can trim your recordings. Basic adjustments are available too.
3. Bandicam
Bandicam specializes in game recording. It captures high frame rates. Performance stays smooth while recording.
The software offers real-time drawing. You can add effects during recording. Webcam overlay is built-in.
Bandicam compresses files efficiently. Your recordings don’t take huge space. Quality remains excellent though.
This tool has scheduled recording. You can set automatic captures. It’s great for monitoring purposes.
4. Leawo Free Screen Recorder
Leawo Free Screen Recorder offers no-cost recording. It’s completely free to use. No watermarks appear on videos.
The interface is beginner-friendly. New users understand it quickly. All features are clearly labeled.
This recorder captures full screen easily. You can select custom areas too. Audio from multiple sources works.
Leawo includes screenshot features. You can grab still images. The tool handles both tasks well.
The software is lightweight. It doesn’t slow your computer. Recording stays smooth and stable.
5. Camtasia
Camtasia is a premium option. It costs money but offers everything. Professional editors choose this tool.
The software includes full editing suite. You can add transitions and effects. Text overlays are simple to create.
Camtasia has a video library. Music and graphics come included. Your productions look professional instantly.
The learning curve is gentle. Tutorials help you get started. Support is available when needed.
Built-in Tools vs Third-Party Screen Recorders
Each option has advantages. Let’s compare them clearly.
Built-in Tools Benefits:
They’re already installed. No downloads are needed. They’re completely free. Basic recording works fine.
Updates come automatically. Microsoft maintains them. They integrate with Windows perfectly.
Built-in Tools Limitations:
Features are limited. Advanced options don’t exist. Editing capabilities are minimal. File formats are restricted.
Third-Party Tools Benefits:
They offer more control. Quality settings are better. Editing features are included. You get professional results.
Many are still free. Paid options add more power. Support teams help with problems.
Third-Party Tools Drawbacks:
You need to download them. Some cost money. Learning takes more time. They use more system resources.
Choose based on your needs. Simple tasks need simple tools. Complex projects need powerful software.
Conclusion
Recording your screen on Windows 11 is straightforward. Multiple options exist for every user. Built-in tools work great for beginners.
Xbox Game Bar is quick and easy. Snipping Tool offers selective recording. Both handle basic needs perfectly.
Third-party software adds professional features. OBS Studio gives complete control. CleverGet Recorder simplifies complex captures. Bandicam excels at gaming. Leawo Free Screen Recorder provides quality without cost. Camtasia delivers premium results.
Start with built-in tools first. Try them for your projects. Upgrade to third-party options when needed.
Screen recording opens many possibilities. Create tutorials easily. Share gaming moments. Record video calls. Capture important information.
Windows 11 makes everything accessible. The right tool waits for you. Start recording your screen today.